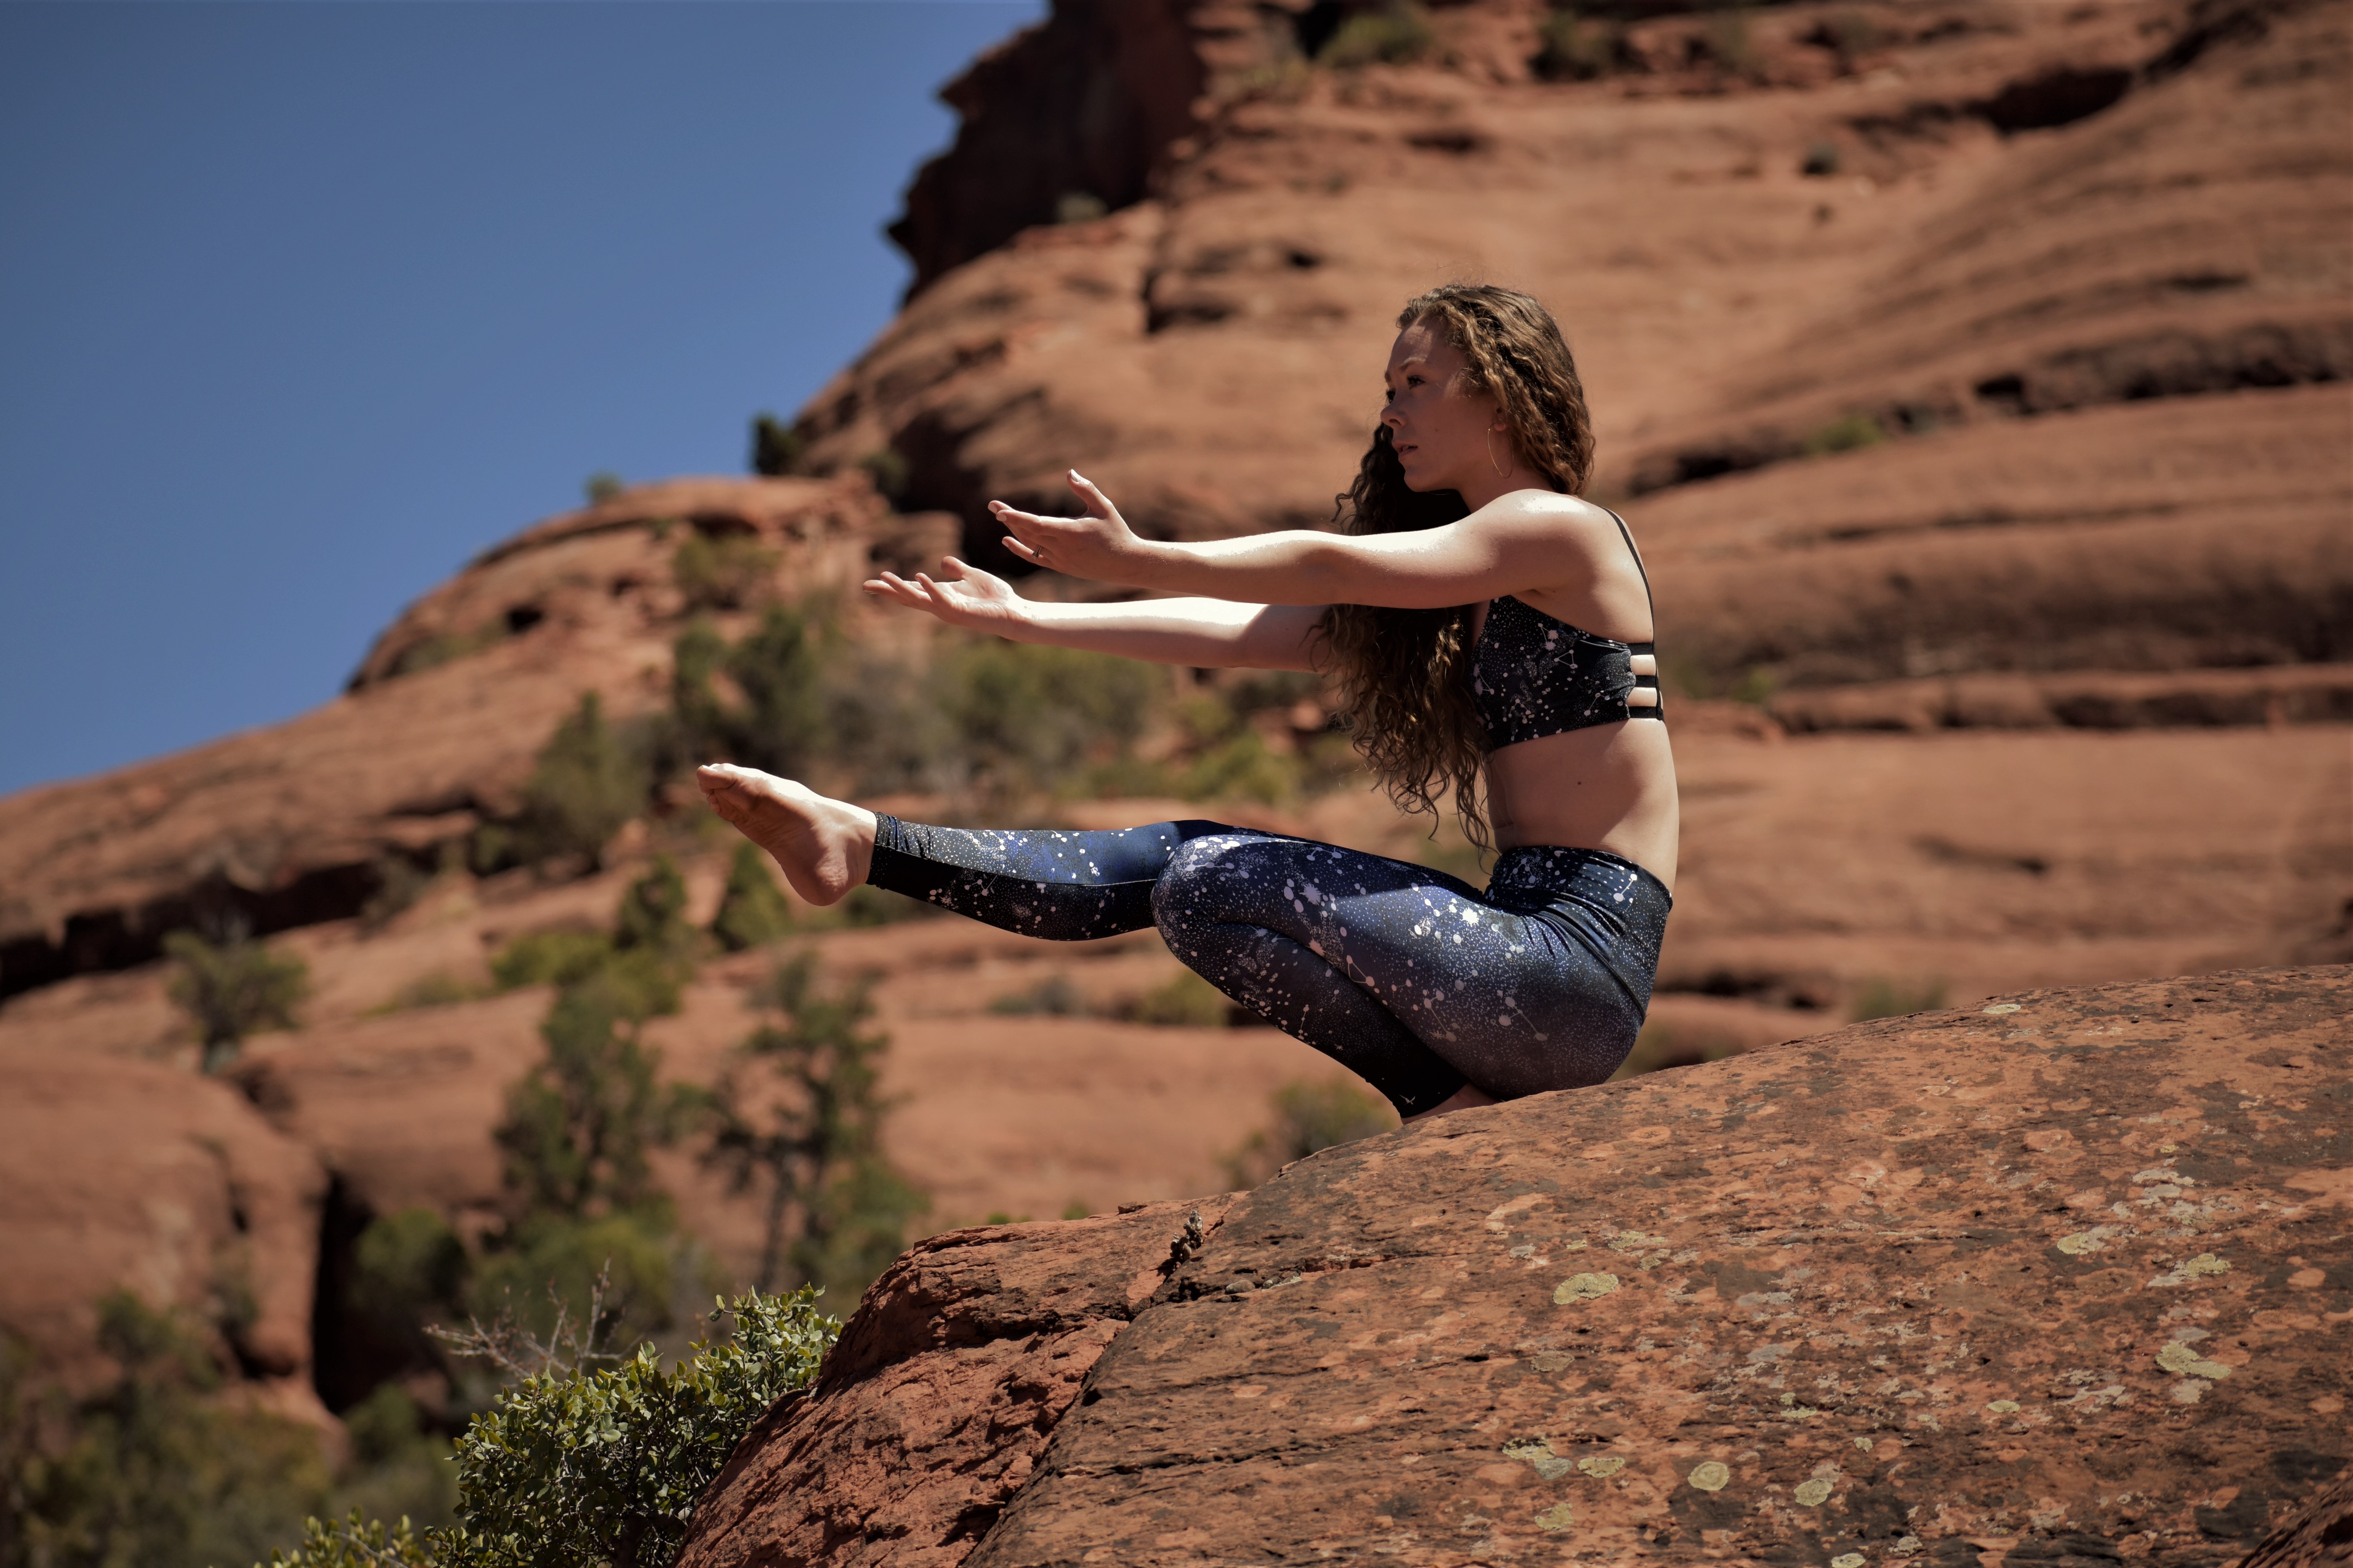
Building an at-home yoga practice can be a daunting task: Where do I start? What equipment do I need? I have never done yoga, can I even do this? These are some of the questions I get on a regular basis. Building my practice from nothing, I have gained useful insight into what methods are helpful in starting a home-based practice. Yes, it is a process, so be patient and remember, each human is different so what works for me may not work for you.

For those of you who don’t know me, let me share a bit about my background. My name is Kelsey Ann, I have been practicing yoga seriously for about two years now and my practice is 100% self-taught and home based. Growing up I was very involved in sports: soccer, martial arts, swim & dive, track & field, and recreational water sports. Each sport I played taught me something new about my body, about control, and about my mindset. In college, I started going to yoga class at our university’s rec center where I learned the bare bones basics of yoga. My athletic background has helped me tremendously in my practice, but I knew very little about yoga when I first started. The majority of what I have learned has been from studying yogis on Instagram, watching countless YouTube videos, and LOTS of reading and research.
Now to the good stuff. 😊
- Make yoga a priority. Get in the right mental state by understanding the commitment of time and energy. Life will get busy on you and it is easy to let other things become more important. Motivation comes and goes, life gets busy, and other important things will happen. Don’t worry, that’s normal. While you are motivated, set up a schedule and commit yourself to a certain amount of time each day. I recommend between 10-60 minutes per day.
- Start with the basics. Begin with sun salutations A and B; if you don’t know what those are look them up on YouTube. Once you have spent a few weeks with learning sun salutations, practicing them, and meshing your breath and movement, then you can branch out. You always want to begin with a solid foundation to build on; as you explore the more advanced poses and techniques you will realize that the same basic concepts of breath and movement applies generally.
- Subscribe to a few YouTube channels. Find ones you like, there is nothing more off-putting than instructors you don’t vibe with. There are plenty of channels to choose from, I began with an 18-day YouTube challenge and haven’t stopped since. Social media challenges are a great way to explore new areas of yoga. As a beginner, I gravitated more towards the YouTube challenges and took photos of my progress, but as I advanced I began to enjoy Instagram challenges because it allowed me to express my more creative side.
- Get in a routine. Habits form with repetition so take that time commitment you decided on in step one and figure out what time of day you can implement it. Start small and then expand. I woke up an hour earlier each day, so I could get in 30 minutes of yoga before work. Stick to the schedule that you set to help form the habit of practicing.
- LISTEN TO YOUR BODY. Safety first kids. Yoga pushes the body so there will be awkwardness, discomfort, flops, flails, and fails and all of that is good. Then there is pain; pain is your body will telling you that something is not right. Sharp, shooting, popping, cringing are all great indications that something is not right. In those cases, return to a resting pose (child’s pose or a comfortable seated position) and look back on what it is you were doing when you felt the pain so that you can fix it going forward. Don’t be afraid to try, don’t be afraid to fail, because you will. Starting out you will fall, you will be uncomfortable, and it will be awkward- this is GOOD. Those are all signs that you are improving and pushing yourself out of your comfort zone; when you get uncomfortable, you begin to see change.
As you become more comfortable with your practice and progression you can start to add more equipment, try more advanced poses, and focus on areas you want to really excel in. Keep expanding your knowledge and get into a studio on occasion to check out a few yoga classes, most studios have reasonable drop-in fees or specials for first timers.

Recommended equipment:
- A yoga mat: starting out all you really need is a yoga mat. I started out with only a yoga mat and the desire to get going. Since then I have added a few yoga props, with a few on my wish list 😉.
- A yoga block: or two. A yoga block is the first prop that I added to my practice. They are incredibly helpful for modifications and improving form so I highly recommend adding one or two to your practice to begin with.
- A meditation pillow: or a thicker blanket that you can roll up. If you are unable to find a good blanket, just use some regular pillows as a substitute. I use a Mexican blanket rolled up or folded a few times. Because it is hefty, when rolled or folded it provides the right amount of support that I need for my meditation and deep stretches.
There is unlimited information on the internet, take advantage of it! Again, do your own research on yoga so you can create a practice unique to your body and goals. Creating your own home practice will take time and dedication just as anything else does, use these bits of advice as a foundation to build on and don’t be afraid to try different things! Remember, each person is different, so each practice will be different.
Breath in, breath out, and let the rest go.
Thank you for sharing a bit of your busy day with me. Comment below with any questions or tips you have found helpful! Go subscribe to my YouTube channel for yoga videos and follow me on Instagram for daily yoga inspiration.
Blessings,
Kelsey Ann

