You’re in yoga class, moving through the flow comfortably, then in the middle of your perfect zen moment, the instructor asks you to turn your body upside down and balance everything you have on your head.
Since you’re reading this, you are at the point in your practice where this scenario doesn’t completely freak you out. Yay! And congratulations. You have gotten to a point in your yoga journey where you are comfortable enough in your practice and your body to try this new, exciting thing.
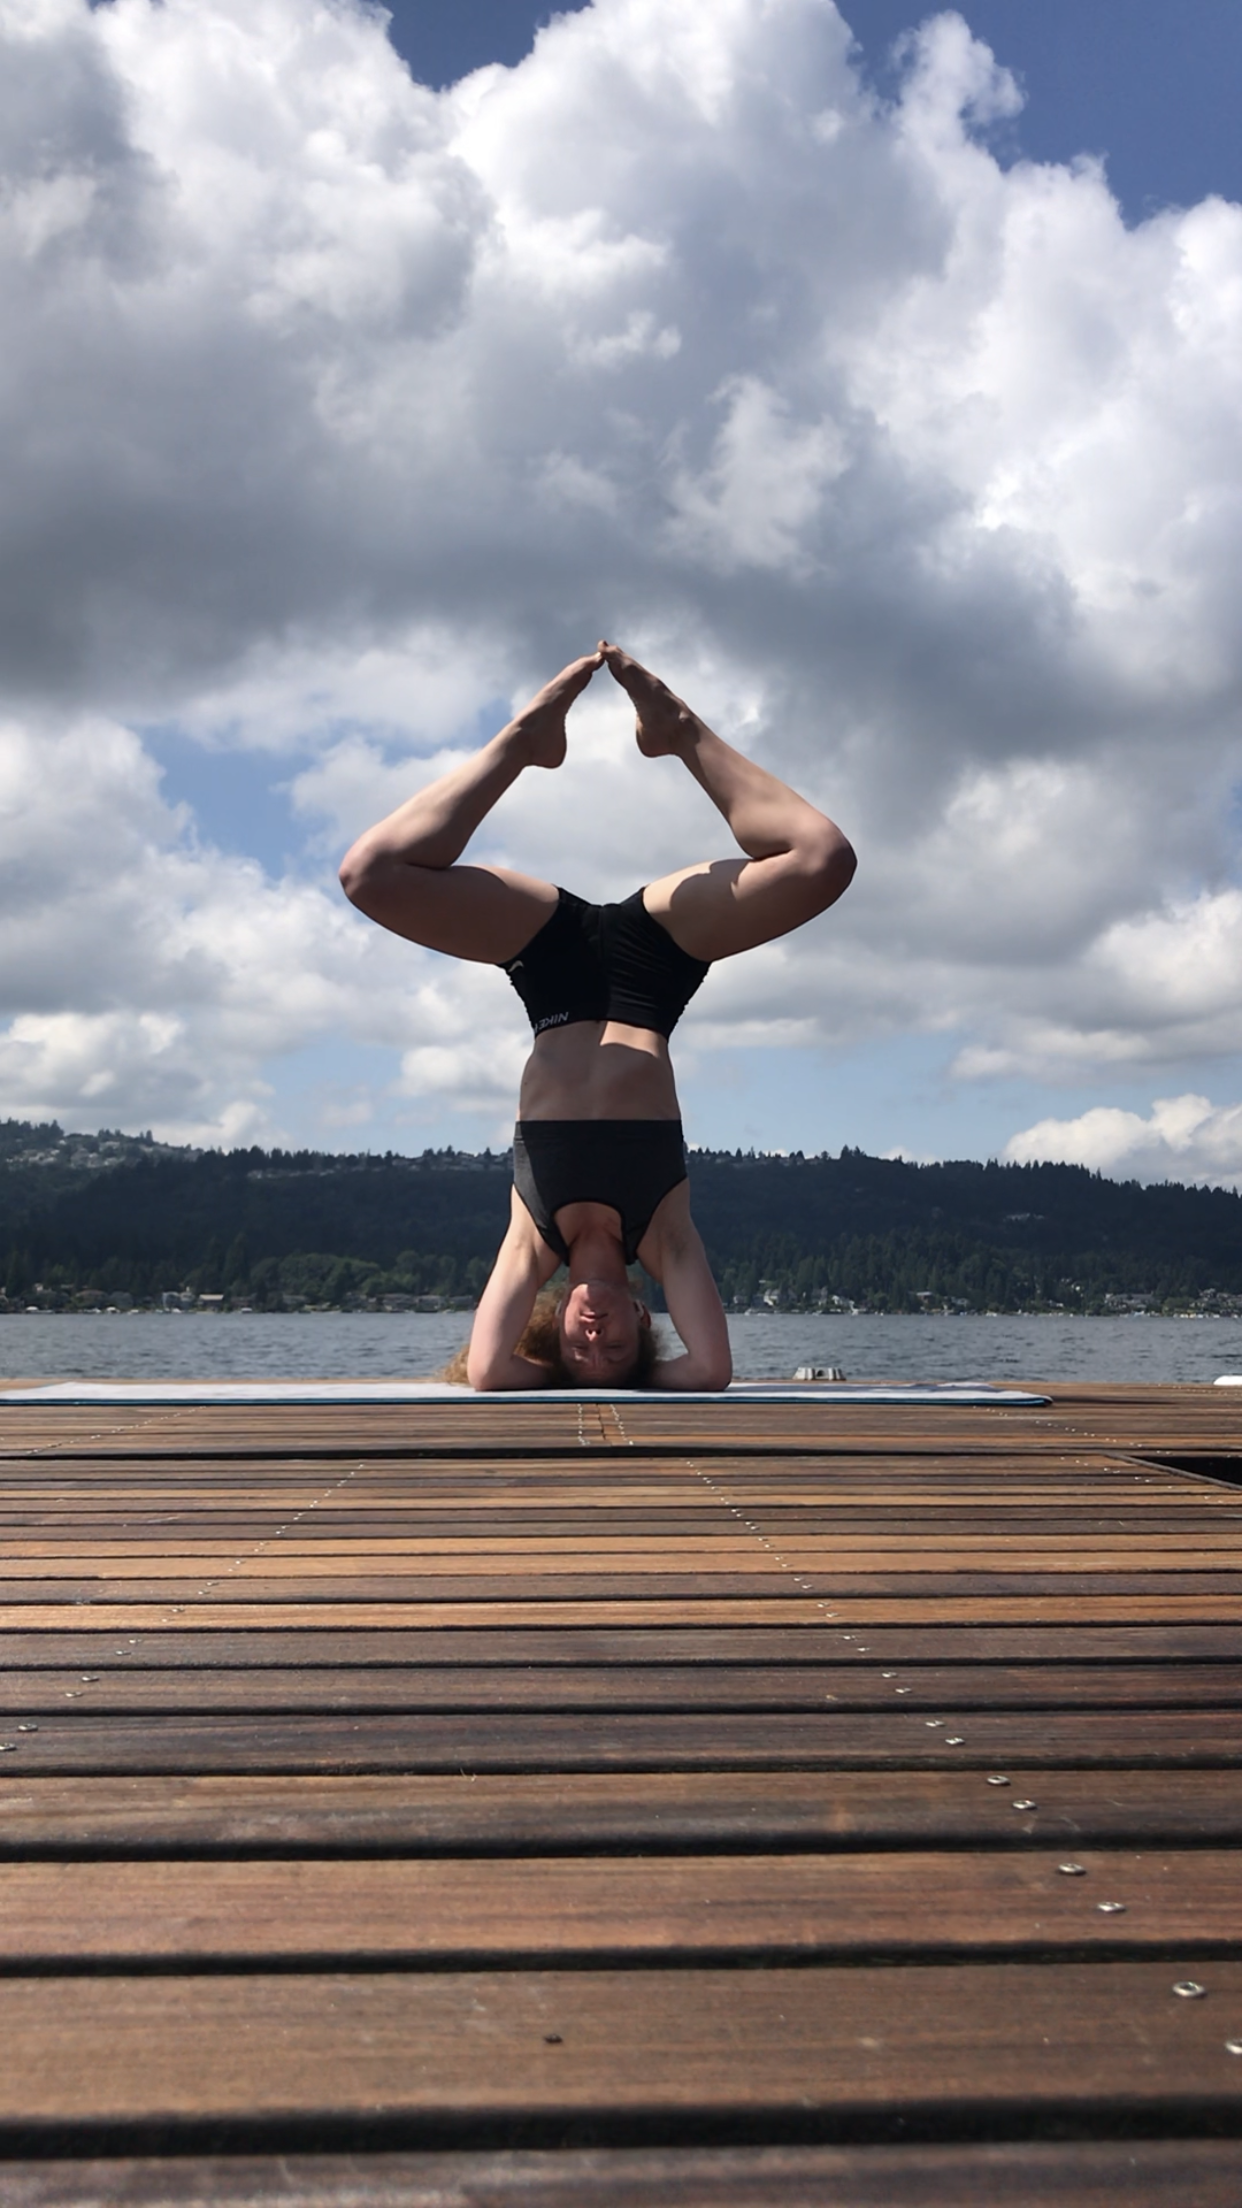
Beginning to add inversions into my practice was one of the most exciting, yet terrifying, steps in my yoga journey. I remember scrolling through social media and seeing so many amazing photos of these strong, beautiful people able to create this art with only their bodies. And that’s all I wanted to do.

But I had never done it before… so how the heck do I do it?
Que the research. I spent so much time looking up the right form, the right exercises to prep, and the right safety measures, I wanted to make sure I knew exactly what I was doing before I tried. That my friends, is what I will be sharing with you here today. A few tips that I have discovered along the way to get you upside down confidently and safely.
Remember, you will be flipping your body to the exact opposite of its natural state and balancing all of your weight on the top of your head. Most of the pressure will be on your neck, one of the most delicate, important parts of the body for existence. There are risks involved in inversions, so be aware and safe will attempting all inversions.
There will be a lot of trial and error in the beginning, plenty of falls, thumps, and bruises along the way. Alongside those challenges, you will progress, get stronger, more confident, more controlled, and hold longer. And the feeling is so empowering! Inversions provide such opportunity for creation, exploration, and advancement in your practice.
So before you get upside down, here are six key points that you will need to know!
1. Safety First
Yes I know, I have previously mentioned this. I mention it again because it is so incredibly important to educate yourself on the risks that go into inversions. Especially if you have any pre-existing health issues or injuries that may affect your practice, please consult a professional before inverting. Some of these include heart issues, detatched retina, glaucoma, or even menstration. Implement safety measures in all parts of your practice!
2. Take it Slow
When you go upside down everything will feel foreign, it will be different, awkward, and uncomfortable. Just as with anything new, give yourself time to get used to it. Trying something new in yoga allows you to discover muscles and parts of your body that you may not have known existed. These muscles will be weak, but be patient and allow yourself to build up the strength you need to invert! The feeling of being upside down is new too, so it will take awhile for you to get used to having your heart over your head and even longer to get comfortable with that feeling. Most importantly, remember that it is not ALL about the end goal, but rather where you are in your journey today. Be patient and enjoy the process of learning.
3. Build a Foundation
Remember these three words: stability, alignment, and form. These three aspects make the difference between steady progression and sloppy flailing. Trust me I have flailed enough to be considered a master flailer. Regardless, your foundation is what you will use as a base to build ALL inversions on as you progress from headstand all the way to handstand.
Stability is important because it will help with everything else while you are inverted. Imagine you have two noodles, one is cooked and one is raw. The raw noodle can hold its shape whichever way you hold it while the cooked noodle… well we all know how floppy they are. Your core is exactly the same way, when the muscles are strong and engaged, the body has stability like the raw noodle; without the core engaged you will have as much support as cooked spaghetti.
Imagine the leaning tower of Pisa. A stunning piece of architecture, beauty radiating from all angles, but it is slowly falling over because the top of the tower is not directly over the base/foundation of the building. Thanks to gravity, it continues to lean further and further until the day that it cannot stay upright. Alignment is what allows stability and control in an inversion, we want our body to be stacked so that we are not fighting gravity. The head, shoulders, and hips should be collinear to each other and perpendicular to the floor. In having your body in one vertical line, gravity only has one point to push you down which means your base for your headstand has all of the weight. Slightly off alignment can shift that weight from your base to other places in the body that we DO NOT want the pressure to be (like the neck and spine).
Form goes hand in hand with alignment. On top of the proper alignment, our form for our base will allow ease in the headstand. In a headstand, there are two main options for beginner headstands: the tripod and the forearms. (Refer to the video above for a demonstration for both foundations.)
Foundation 1: Tripod
The tripod formation distributes the weight between the two hands and the head. The hands should be positioned shoulder width apart and about a foot away from the head so the elbows form a 90 degree angle.
Foundation 2: Forearm
The forearm formation distributes the weight throughout the head, forearms, and elbows. Interlace the fingers and cup the back of the head. The top of the head should be the point of the head that is touching the ground, the neck is straight, the forearms press into the ground, and the elbows are about shoulder width apart. Unlike the tripod that has three points for weight distribution, the forearm formation has more of a V-shape for the weight distribution. This forearm formation is my preferred base between the two because it feels more stable and puts less pressure on the wrists.
4. Strengthen Your Core
This will include putting in extra time doing the exercises to target those deeper muscles you do not normally use. Most of the exercises will be targeted at the core because it is so crucial to have enough strength to hold up your lower body and keep yourself steady enough to find alignment. The torso provides the stability in your inversion, your muscles will be constantly adjusting and stabilizing as you balance.
A few common exercises to build ab strength for inversions are planks, leg lifts, bicycles, mountain climbers, and reverse crunches. The abs only provide stability in the front, the back muscles also need some love because they stabilize from the back. Some poses to help build strength in the back include downward dog, cobra, camel, bow pose, and locust pose.
5. Use the wall and know how to fall
If you this is your first time approaching a headstand, use the wall!!! The wall is going to be a good friend throughout your inversion journey ahead. Using the wall to assist in inversions not only gives you piece of mind, but also guide you to a more natural alignment.
To use the wall for your headstands, measure out one or two full hand lengths from the wall (should be about 6-12 inches) and face the wall. Place your foundation in that spot and continue your headstand as normal. Refer to the video above for tips on how to headstand.
Know how to fall. Yes, you will fall as you grow in your inversions. And that is totally normal! But we want to make sure we fall safely to avoid terrible tumbles.
6. Keep it consistent
In developing skills, the best results are built from consistency in practice. Athletes prepare for a game with practices, students prepare for exams by studying, and actors prepare for shows with rehearsals. Consistency is key to grow your headstands. Now you do not have to do headstands every single day, but allocate at least 2 days of the week to practice inverting as well as 2-3 days for ab work.
By implementing a weekly practice routine for your headstands, it will eventually become a habit and you will notice the ease that comes to your headstands. As you progress, start to experiment. Hop on social media and find some inspiration or a cool new variation to try! The beauty of it is that you are completely in control of your inversion practice.
Now get out there and have fun! Bookmark this page so you can refer back to it to guide you throughout the beginning stages of your headstands. Stay in touch, I will be sharing more on headstands because they are my absolute favorite! I hope you find joy in your headstand journey, please comment any questions about headstands and I look forward to the next time we meet.
Blessings,
Kelsey Ann